Workflows:
Workflows in Canto typically involve defining and automating processes related to asset management, such as approval processes, review cycles, and content publishing.
Here are some steps to create the workflow.
Access the admin panel:
Log in to your Canto account and navigate to the app switcher section. This is where you can access workflow options.
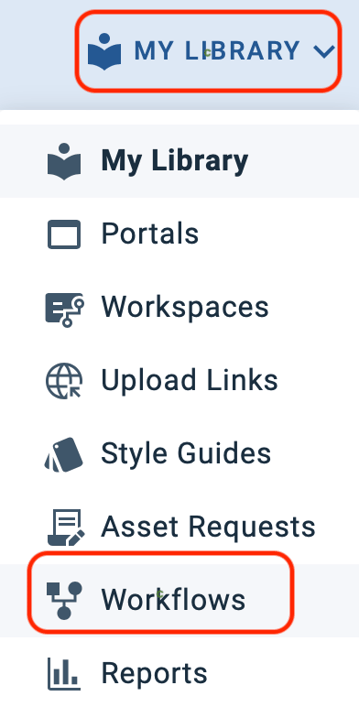
Locate Workflow:
"My Workflow" refers to a section in Canto where individual users can define and manage their personalized workflows. Users have the ability to customize their workflows based on their specific roles, responsibilities, or preferences within the digital asset management process, and can be applied to all other Users of Canto.
"All Workflow" refers to a section where administrators or users with broader permissions can view and manage workflows that are accessible to all users within the organization. Admins/Contributors with manage workflow privileges can access "All Workflow", can define permissions, roles, and automation rules that apply universally to all users or specific groups.

Create a new Workflow:
By selecting from workflows above, look here for an option to create a workflow and fill in the description as guided.
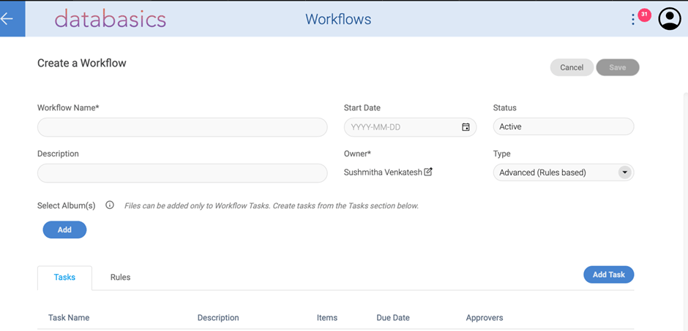
Create new task and assign rules and permissions:
Specify the roles or users involved in each workflow step. Define the permissions associated with each role.
If your workflow involves automation, configure rules that define how assets move through the workflow based on certain criteria. For example, you might automate the movement of assets based on their metadata or file properties.

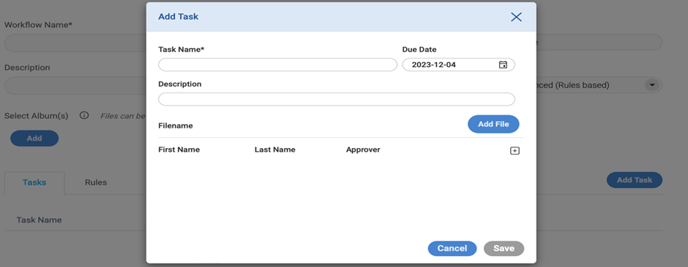
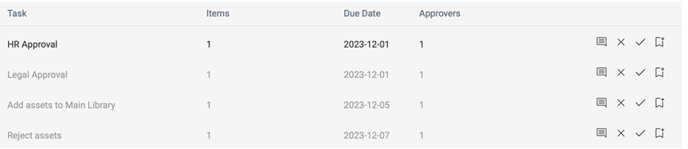
As soon as you have created new task within the respective workflow you can switch to the Rules tab in order to specify your requirements.
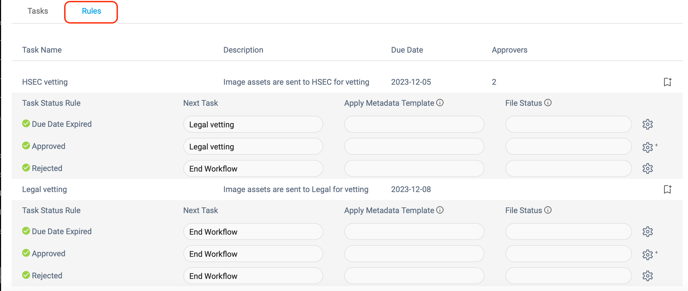
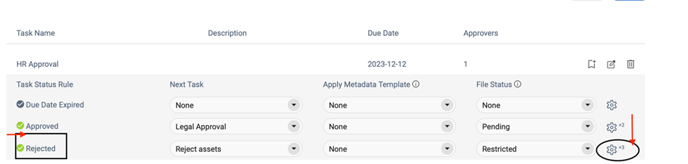
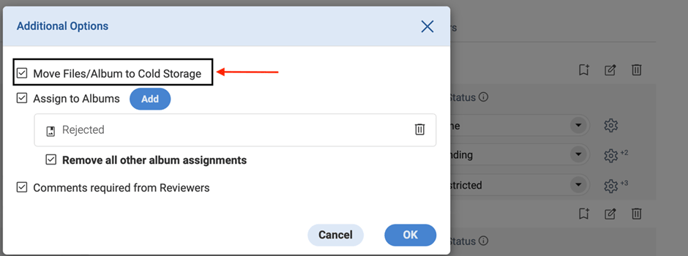
You can select a metadata template that should be applied when a certain Task Status Rule applies and file status should be set to either Pending, Approved or Restricted if a certain Task Status Rule applies.
Configure and set notifications:
Configure notifications to alert users when they have tasks or assets to review. Notifications help keep everyone informed about the progress of the workflow.
Corresponding Workflow:
Earlier Canto did not have a built-in feature to directly clone workflows from within the user interface but new features have been introduced since then.
Manual steps in Corresponding Workflow if no direct cloning feature exists:
Document the Existing Workflow:
Take note of all the steps, roles, permissions, and automation rules configured in the existing workflow that you want to clone.
Access Workflow Settings:
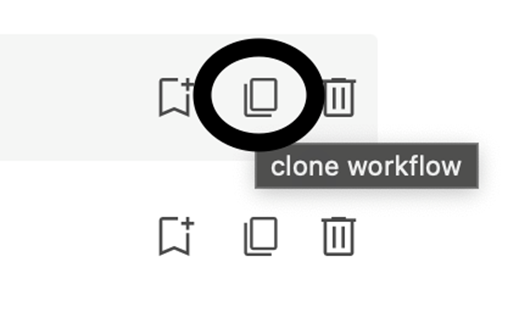
Log in to your Canto account and navigate to the section where you can manage workflows. This is typically found in the administration or settings area. Select the clone icon on the right side of the screen to clone a workflow. This will bring you to a menu similar to when you first created the workflow.
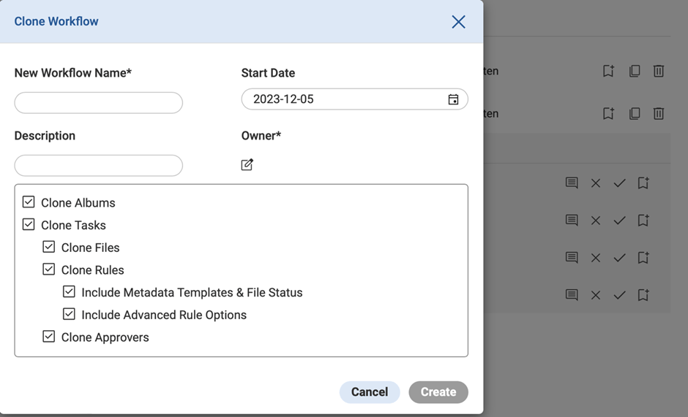
Here, you can update the description and status of the workflow. If the original workflow had automation rules, recreate these rules in the new workflow to replicate the same automated processes. Then fine tune to your new specifications as you see fit with different timeline objective dates (start date, deadlines, etc.).
Test the Workflow:
Before deploying the new workflow for regular use, test it with a few assets to ensure that it functions as expected.
Deploy the Workflow and update the Users:
Once you are satisfied with the configuration and testing, deploy the Workflow. If users are assigned to the workflow, inform them of any changes and provide any necessary training.
Cold Storage:
"Cold Storage" is often associated with archival or long-term storage solutions that are designed for assets that doesn't require frequent access. It is suitable for assets that needs to be retained for a long period, even if it is not actively used or accessed frequently.
Assets that are in Cold Storage are still visible in the library but their use is restricted.
For example, a direct download is no longer possible; instead, such assets must be requested for download.
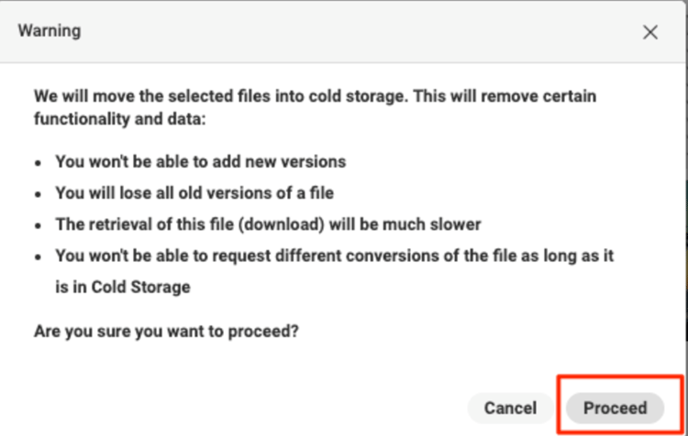
Note: As long as the assets are in cold storage, no new versions can be added.
How to utilise Cold Storage in your workflow?
Identify Rejected Files:
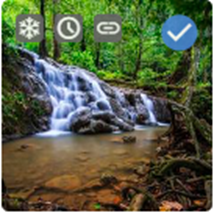
In Canto, identify the assets that have been rejected or are no longer needed in the active workflow. Select the assets by clicking corner of the asset's thumbnail. A checkmark will designate the selected assets.
Click the Move to Cold Storage icon in the toolbar above shown and manually move the files to your cold storage solution. This could be an external storage system, a network-attached storage (NAS), or another archival solution.
The following confirmation will appear before proceeding further.
Can the data be retrieved?
Retrieving assets from cold storage may take longer compared to more readily accessible storage. This is because cold storage is optimized for cost savings rather than quick retrieval but is a very minimal change. You can also bring cold stored asset back into Hot Storage in the main library at a later date, by selecting the cold storage assets with the tick, and select the ‘Restore from cold storage button’ shown below.

Update Metadata or Documentation:
If necessary, update metadata within Canto to reflect the archival or cold storage status of the files. Document the location and status changes for future reference.
Notify Users:
If other team members or stakeholders need to be informed about the archival, communicate the changes made to the files and their new storage location.
For more assistance, please contact our team at helpdesk@databasics.com.au